Intro Course
Hugo Image Issue
Hardware Requirements
Blender Foundation recommendations
Blender does have some special hardware requirements that may not be satisfied by the average computer. Blender.org lists the minimum hardware requirements as follows:
- 64-bit quad core CPU with SSE2 support.
- 8 GB RAM.
- Full HD display.
- Mouse, trackpad or pen+tablet.
- Graphics card with 2 GB RAM, OpenGL 4.3.
- Less than 10 year old.
Please note that these are the minimum system requirements. If you are planning on using this software to create more advanced projects, it is best to look at what Blender artists recommend.
Additional Notes:
Graphics
It is best to have a Dedicated Graphics Card for using 3D software like Blender. 3D modeling and rendering typically utilizes large amounts of virtual memory. Dedicated graphics cards have additional virtual memory for this purpose. Some integrated graphics systems in laptops and mini computers work for light projects as well. It is best to do a bit of personal research into the matter.
Most cards over the past decade will be just fine so long as you’re packing at least 2GB of video memory on the Nvidia GeForce 400 series, AMD’s Radeon HD 7000 range, or newer. CPU-wise, you’re looking at a quad-core processor to get the program running.
If this information is making your head spin, then the demo scene stress test should at least confirm that your computer will work for this course.
Mouse
I urge you to use a dedicated mouse with a mechanical clickable centrewheel. The clickable centrewheel will be used often for panning and rotation of the 3D scene. Most mid-grade dedicated mice include this feature.
Until you are familiar with the interface, please do note use:
- A trackpad
- A touch-based mouse eg. Apple Magic Mouse
- A digitizer tablet eg. Wacom
If you in need of a different mouse, here are a few low cost recommendations that are easy to find online or pick up at staples. Note: both of these mice do not have bluetooth and require a USB A port for the wireless receiver.
Microsoft 2.5 ghz wireless 1850 mouse on Amazon Canada
Logitech 2.5 ghz wireless M325 mouse on Amazon Canada
Display
Blender has a rather large and complex user interface with many small buttons and windows. It is best to use a large, high resolution monitor in order to maximize the UI spread. Otherwise, buttons may be hidden or minimized, causing some confusion for the uninitiated.
Install & Test
A) Overview
Downloading and installing Blender is normally a straightforward process. However, if you have never tested the software on your particular computer hardware it is best to download, install and open a demo file for quick testing. Furthermore, I would like to ensure we are all using a similar installation with default settings and layout.
B) Recommended Blender version
Blender is under constant development meaning there are small incremental releases happening weekly. Implementing small changes on a constant basis can cause instability or bugs to the end user. I recommend downloading a Long Term Release version as these versions are intended for studios that favor reliability over new features. The latest (LTS) release version is version 3.3.3
Direct Link to 3.3 LTS release download
C) Running a demo file
Once you have Blender installed, it is best to open a demo scene to check for crashing or other bugs. There is a page hosted by the organization that allows anyone to download open sourced demo scenes.
1. Download demo scene
This course will not be taxing on your system as we are using basic features. I recommend downloading the ‘Classroom Scene’ created by Christophe Seux. Here is a direct link to downloading the file.
2. Open demo scene
Once you have downloaded the demo file, unzip it and open the classroom.blend file. Upon first opening the file you should see this:

3. Enable ‘Viewport Shading’
In order to test the capability of your computer for rendering click this button circled in red:

Once you have clicked the ‘Viewport shading button’ as indicated by the red circle, patiently wait for the scene to load. The time to load varies depending on what computer you are using. I would suggest leaving this process for 1-10 mins.
4. Confirm the demo scene has rendered correctly
The scene should render within that suggested timeframe and look like this. Note: there is text in the upper left corner that indicates the loading, rendering and completion of the scene as indicated here.

If your scene looks like this screenshot then you have successfully stress tested your machine and are ready to take on this course. By completing this stress test we can now deduce that:
- Your Blender 3.3.3 installation was successful.
- You have opened your first Blender file.
- Your machine is capable of rendering [Raytraced.](https://en.wikipedia.org/wiki/Ray_tracing_(graphics)"Wikipedia Page for Raytracing Graphics") light successfully.
- You are ready to begin the course!
Session #1
Course Intro
- Personal Intro
- Intro to staff
- Handouts Syllabus
- Read Through
History of Blender
- Ton Roosendaal LINK to Wikipedia
- Brief History LINK to Blender.org/History
- NeoGeo Founding 1995
- Port to Linux LINK to Wikipedia
- Unix Timeline LINK to Wikimedia SVG
- Not a Number LINK to Demo Files
- Open Sourcing in 2002 LINK to GPL V2 License info
Free & Open Source Software (FOSS) Ideology
- Transparency LINK to Git Repository
- Freedom LINK to Publication
- Collaboration Ability to contribute fixes, features and suggestions
Purpose of Blender
- Modelling LINK to Wikipedia
- Sculpting LINK to Blender Manual
- Texturing LINK to Wikipedia
- Animation & Rigging LINK to Blender Info Page
3D Graphics
- Polygon Mesh LINK to Wikipedia
- Normals LINK to Wikipedia
- Mesh Types Demonstration
- Shaders LINK to Wikipedia
- Texture Mapping LINK to Wikipedia
- UV Mapping LINK to Wikipedia
- Displacement Mapping LINK to Wikipedia
- RayTracing LINK to Wikipedia
Installation & Testing
- Install LINK to installation instructions
- Open You may get a security warning from Windows Defender and/or Mac OS
- Test Custom test instructions
- Configure LINK to configuration manual
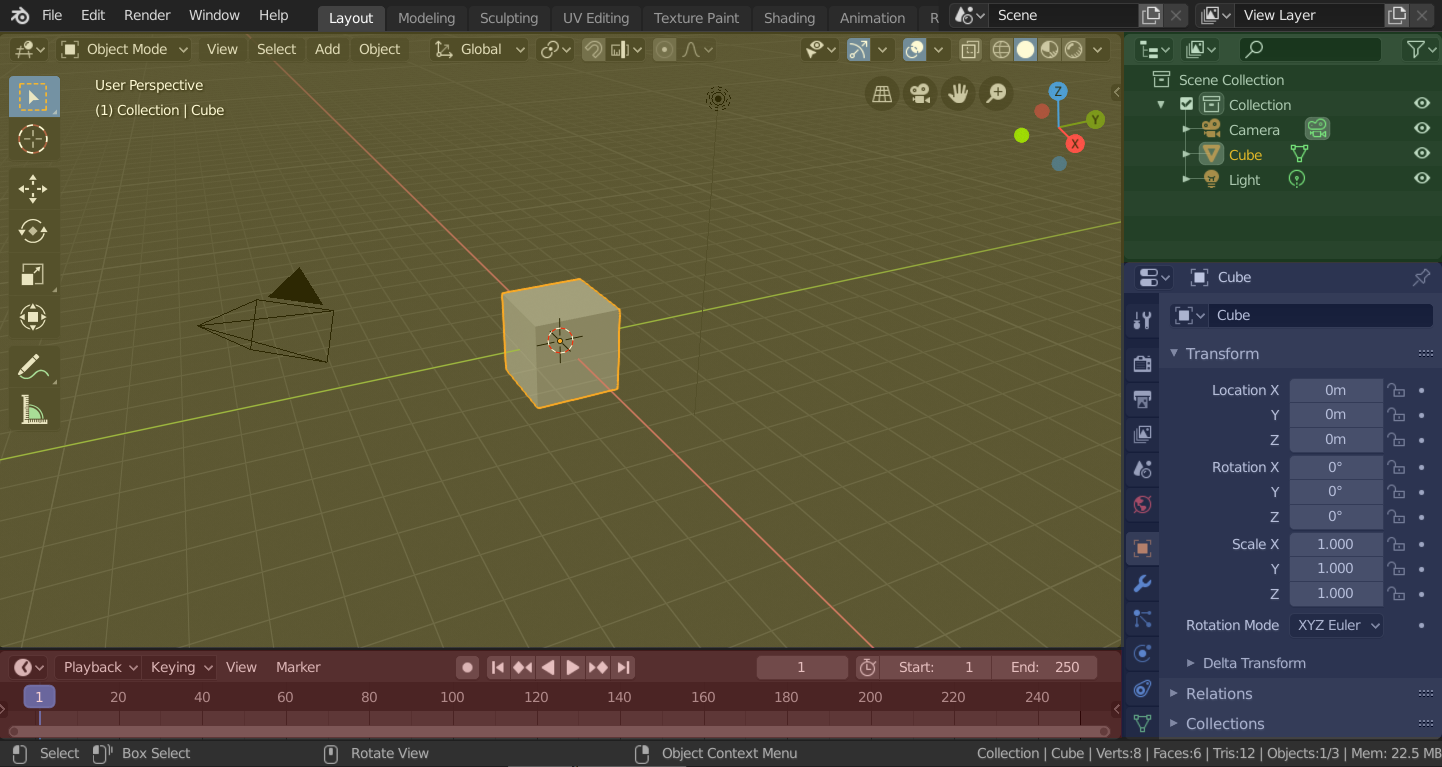
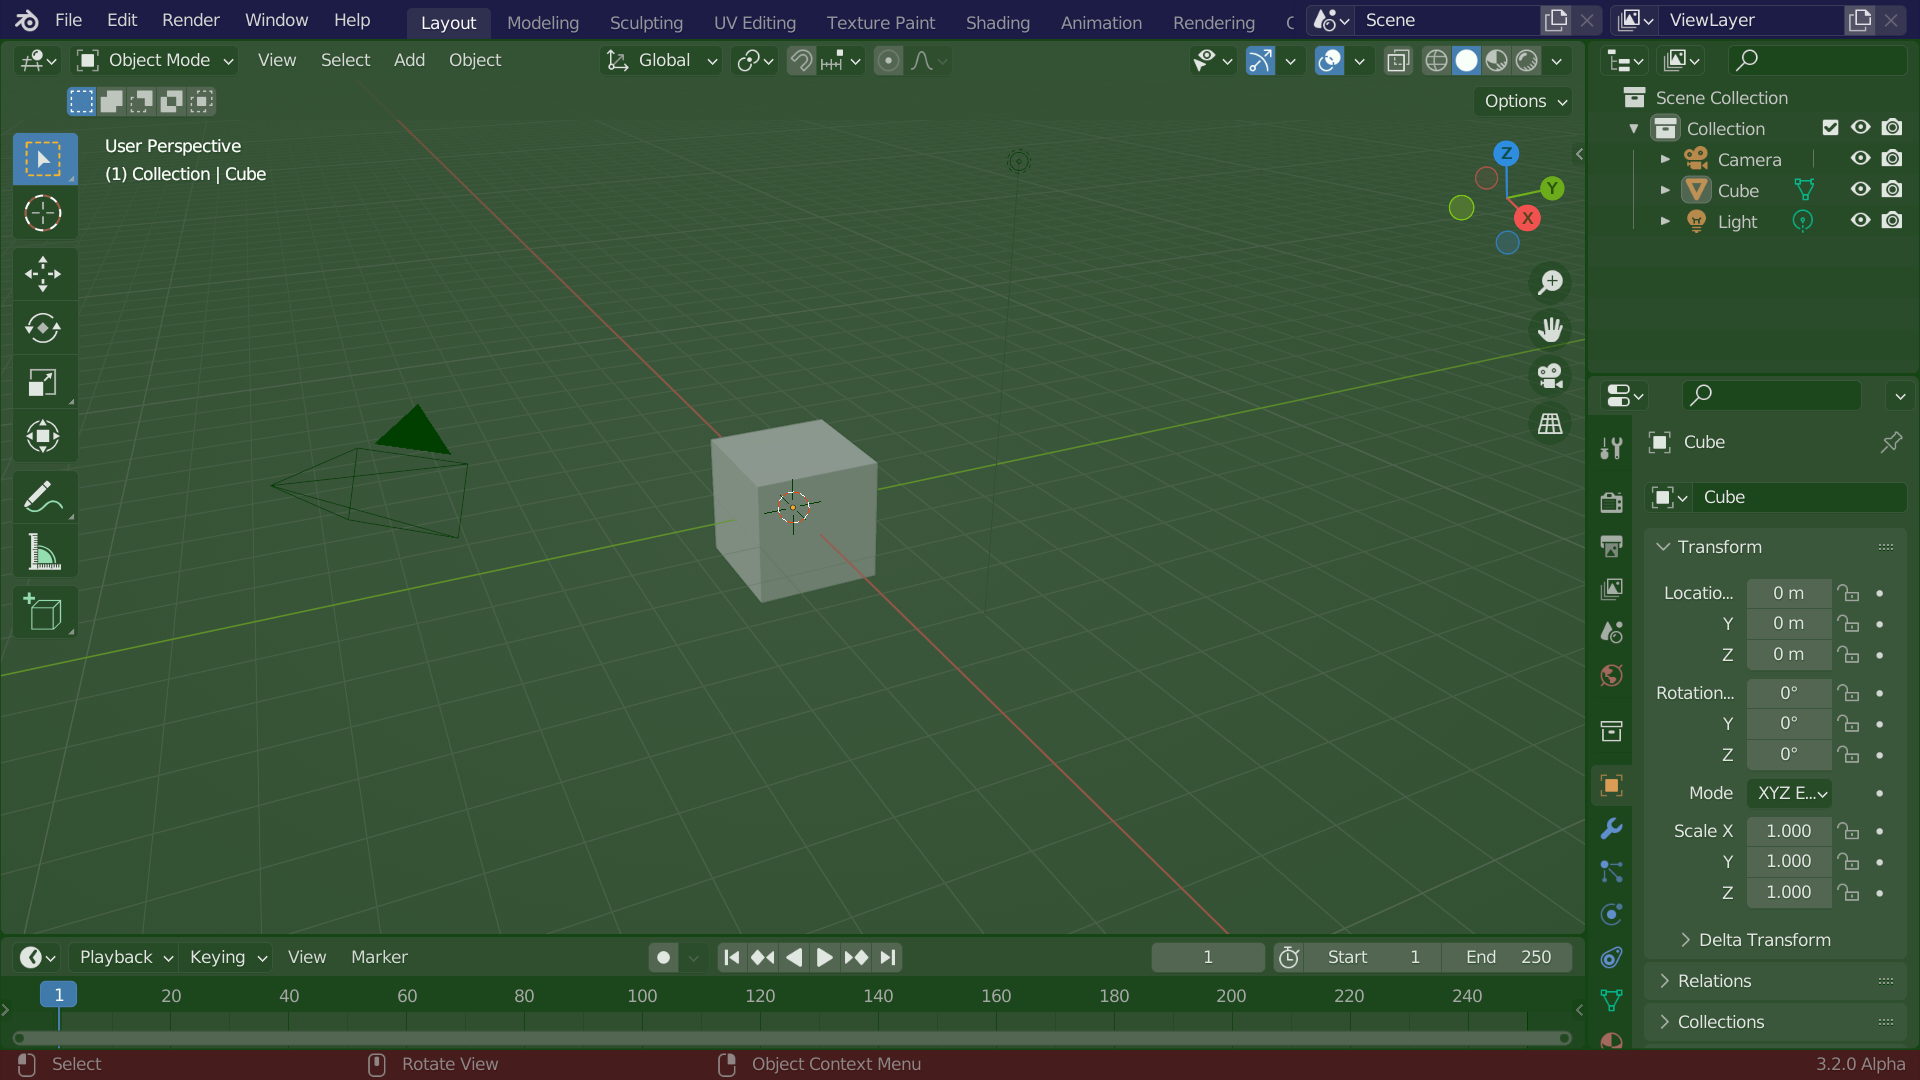
Interface Overview
- Splash Screen LINK to Page
- Workspaces LINK to image Header (green), Main region (yellow), Toolbar (blue), Sidebar (red) and Adjust Last Operation panel (pink).
- Workspace Layout LINK to image
- Top Bar LINK to image
- Tool Bar LINK to Page
- Outliner LINK to Page
- Tabs & Panels LINK to Page
- Modes Demonstration
Viewport Navigation
- Pan Shift + CMB (Centre Mouse Button)
- Zoom Scroll Wheel
- Zoom to Section Select item > View menu > Zoom to selection
- Rotate CMB and move
Select & Transform
- Selection LMB (Left Mouse Button)
- Multi Selection SHIFT + LMB (Left Mouse Button)
- Grab / Move Select item > View menu > Zoom to selection
- Rotate Hold CMB (Centre Mouse Button) and move mouse
- Scale S
- Axis locking X, Y, Z
- 3D Curser Shift + RMB (Right Mouse Button)
Sidebar Menu
- Hide Show Sidebar N or Click Tab
- About [LINK to Page](https://docs.blender.org/manual/en/latest/interface/window_system/regions.html#sidebar “Manual”)
- Item Menu Demonstration
- Tool Menu Demonstration
- View Menu Demonstration
Break (15 m)
Tool Bar
- Hide Show Tool BarT or Click Tab
- About[LINK to Page](https://docs.blender.org/manual/en/latest/interface/tool_system.html#ui-region-toolbar “Manual”)
- Selection Tool Demonstration
- View Menu Demonstration
- Move Demonstration
- Rotate Demonstration
- Scale Demonstration
- Transform Demonstration
- Annotate Demonstration
- Measure Demonstration
- Add Primitive Demonstration
Add & Delete Items
- Adding items to scene SHIFT + A
- Deleting X
- Context Menu Demonstration
Outliner
- Intro LINK to Manual
- Adding scene items SHIFT + A
- Selecting multiple items Shift + LMB
- Creating a collection M
- Selecting collection Demonstration
Areas & Windows
- IntroLINK to Manual
- Resizing RMB on edge / Demonstration
- Splitting RMB on edge / Demonstration
- Joining RMB on edge / Demonstration
- Open Window Demonstration
Editor Types
- Intro LINK to Manual
- Upper Left Corner Demonstration
- Touring Editor Types Demonstration
Workspaces
- Intro LINK to Manual
Edit Mode
- Intro LINK to Manual
- Review Polygon Mesh LINK to Wiki
- Vertex Select 1
- Edge Select 2
- Face Select 3
Edit Mode Toolbar
- IntroLINK to Manual
Session #2
Review of previous week
Workshop session
- Creation of cylinder
- Flaring cylinder end
- Positioning offset from centerline
- Adding Empty
- Mirror Modifier (Using Empty)
- Parenting an object to the Empty
- Applying subdivision surface modifier
- Adding edge loops & Bevels
- Loop Cutting
- Contiguous selections & Deselections
- Duplicated and separating faces
- Knife tools (Cut Through)
- Isolation & Exit isolation
- Applying the solidify modifier
- Copying mirror modifier to other objects
Break 15 min
Workshop
- Creating & Naming Materials
- Applying Single & Multiple materials to objects
- Scene setup & Management (Grouping & Naming)
- Lighting setup
- Camera setup
- Render settings (Passes, Denoising, Filetype)
- Render output
Basic Shortcuts
A short list of heavily used keyboard shortcuts baked into Blender by default.
Object Mode Shortcuts
| Description | Mac Modifier Key | Windows Modifier Key | Linux Modifier Key | Key #1 | Key #2 | ||
|---|---|---|---|---|---|---|---|
| Select All | Command (⌘) | Control (Ctrl) | Control (Ctrl) | + | A | X | X |
| Multi Select | SHIFT | SHIFT | SHIFT | + | LMB | X | X |
| Cut | Command (⌘) | Control (Ctrl) | Control (Ctrl) | + | X | X | X |
| Copy | Command (⌘) | Control (Ctrl) | Control (Ctrl) | + | C | X | X |
| Paste | Command (⌘) | Control (Ctrl) | Control (Ctrl) | + | S | X | X |
| Copy + Properties | Command (⌘) | Control (Ctrl) | Control (Ctrl) | + | Alt | + | C |
| Paste + Properties | Command (⌘) | Control (Ctrl) | Control (Ctrl) | + | Alt | + | V |
| Delete | X | X | X | X | X | X | X |
| Sidebar Collapse/Show | X | X | X | X | N | X | X |
| Contextual Pie Menu | X | X | X | X | ~ | X | X |
| Object/Edit Mode | X | X | X | X | TAB | X | X |
| Grab | X | X | X | X | G | X | X |
| Free Move Along X Axis | X | X | X | X | G | + | X |
| Free Move Along Y Axis | X | X | X | X | G | + | Y |
| Free Move Along Z Axis | X | X | X | X | G | + | Z |
| Rotate | X | X | X | X | R | ||
| Rotate Around X Axis | X | X | X | X | R | + | X |
| Rotate Around Y Axis | X | X | X | X | R | + | Y |
| Rotate Around Z Axis | X | X | X | X | R | + | Z |
| Hide | X | X | X | X | H | ||
| ISOLATE | X | X | X | X | SHIFT | + | H |
| UNHIDE ALL | X | X | X | X | ALT | + | H |
| Confirm Operation | RETURN | ENTER | ENTER | X | X | X | X |
| Cancel Operation | ESC | ESC | ESC | X | X | X | X |
| Add Item to Scene | SHIFT | SHIFT | SHIFT | + | A | X | X |
Edit Mode Shortcuts
| Description | Mac Modifier Key | Windows Modifier Key | Linux Modifier Key | Key #1 | Key #2 | ||
|---|---|---|---|---|---|---|---|
| Select All | Command (⌘) | Control (Ctrl) | Control (Ctrl) | + | A | X | X |
| Vertex Select | X | X | X | X | 1 | + | LMB |
| Edge Select | X | X | X | + | 2 | + | LMB |
| Face Select | X | X | X | + | 3 | + | LMB |
| Inset Edge | X | X | X | + | S | X | X |
| Bevel Edge | CTRL | CTRL | CTRL | + | B | X | X |
| Knife Tool | X | X | X | X | K | X | X |
| Loop Cut | Command (⌘) | Control (Ctrl) | Control (Ctrl) | + | R | X | X |